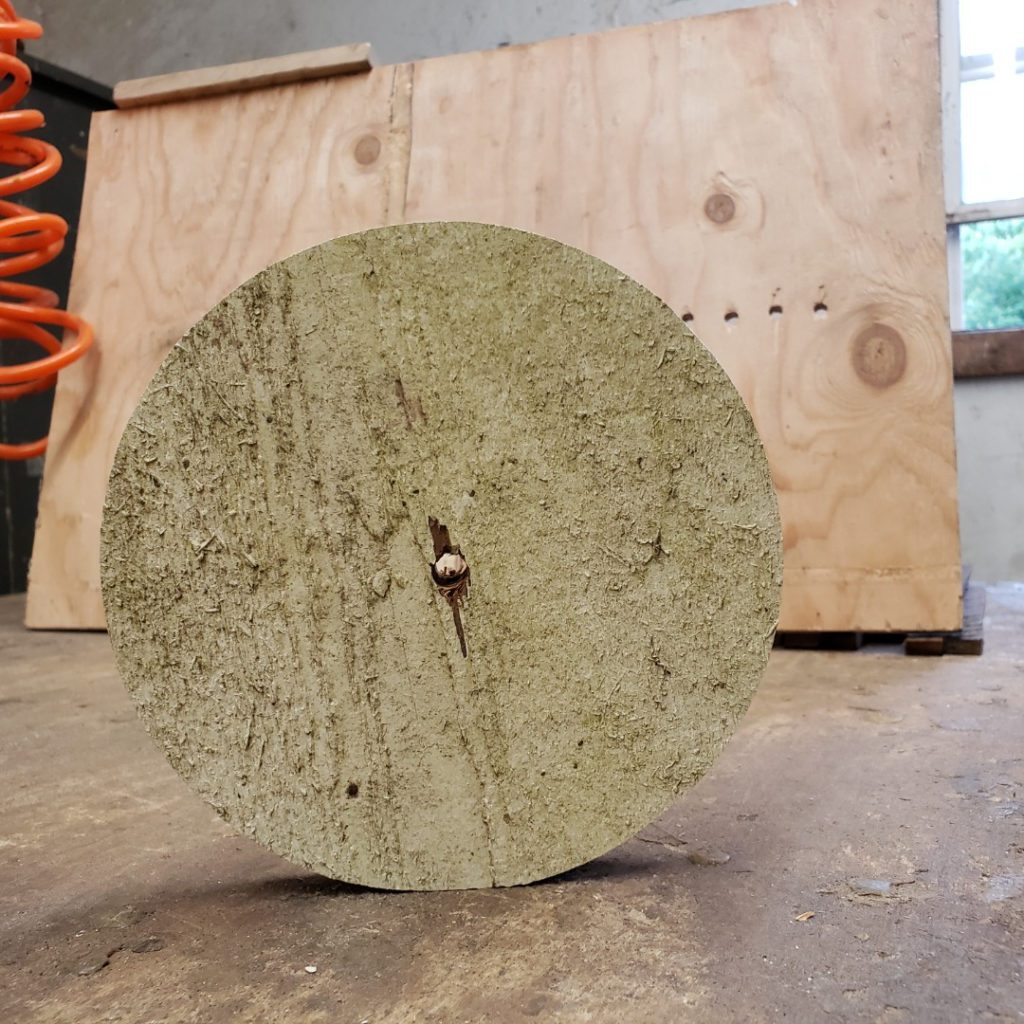
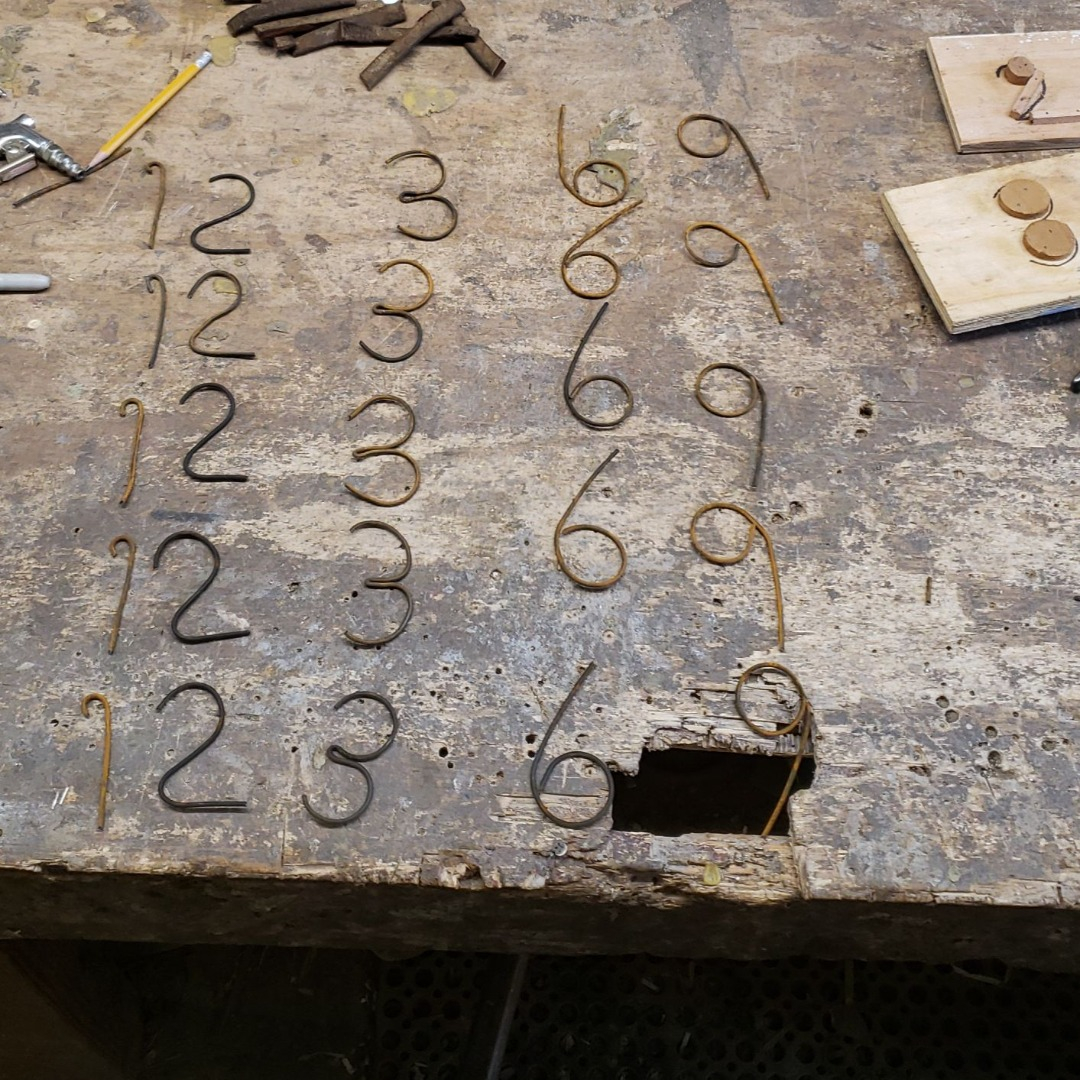
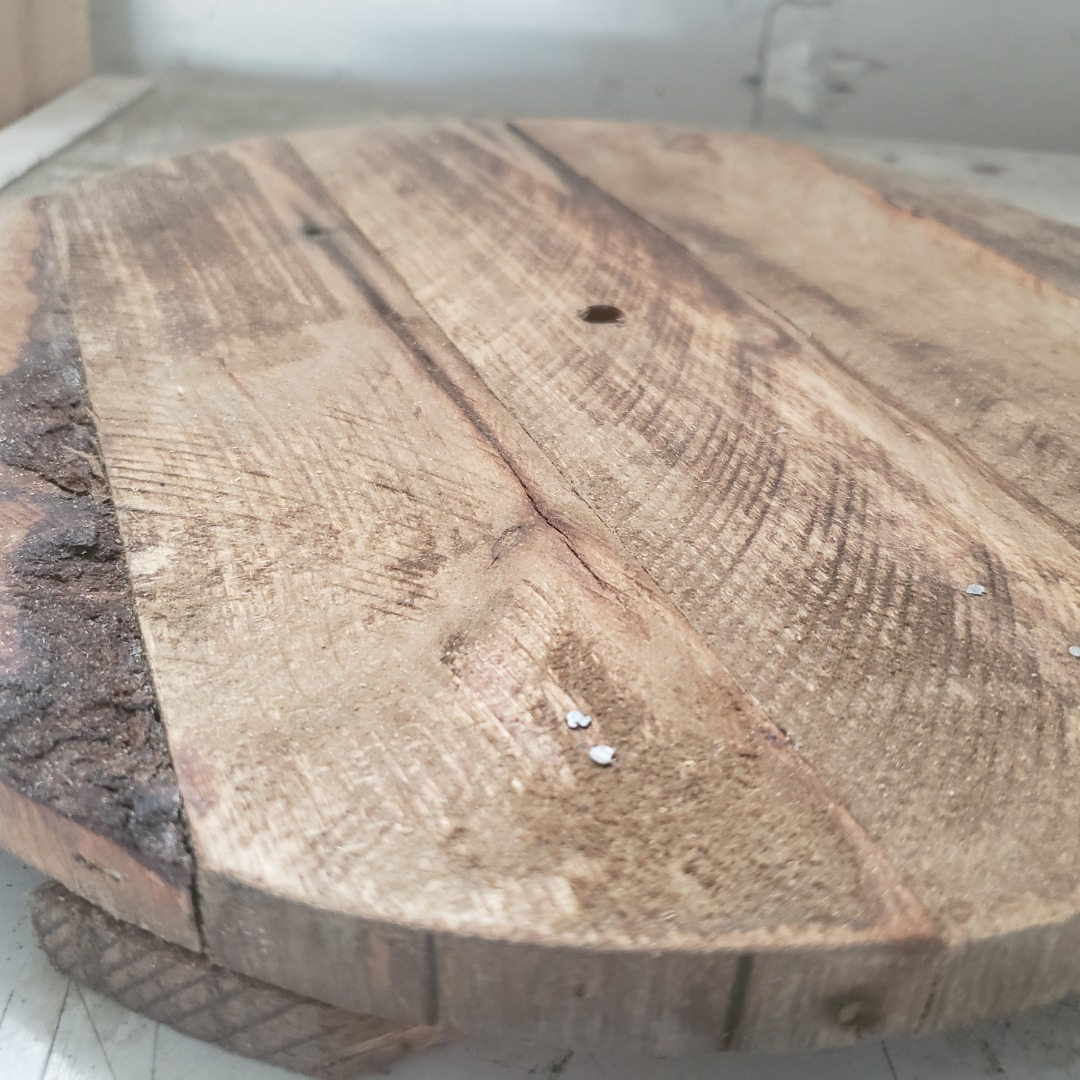
Circle jigs are very useful jigs that can be used to make circles of all different sizes. Without a jig to cut out circles, it’s almost impossible to get consistent perfect circles. It is even harder to cut out the circle at the exact size for your particular project. With a circle jig, you can easily know exactly how big of a circle you’re cutting out and cut it perfectly in seconds.
The jig we will be making today will allow us to make circles that range from 2 inches in diameter all the way to 30 inches. This range will ensure that you have plenty of options for all your future projects whether you’re making clocks, birdhouses, tables, or anything else. This jig will provide you with all the options you need.
What you will need
A circle jig is a relatively simple jig and doesn’t require much in terms of materials. For this jig, I will be using ½ inch plywood but you could use any type of wood. If possible try to use something that isn’t too thick. It doesn’t have to be plywood and doesn’t have to be ½ inch but try to avoid using anything more than ¾ of an inch. This will help keep the jig less bulky and will make it much easier to work with.
Materials
- Plywood
- Scrap wood
- Glue
- 5/16 Dowel rod
Tools I used
- Tape measure
- Table saw
- Miter saw
- Drill with a 5/16 drill bit
- Nail gun
- Pencil
- Wood glue
Step 1 Cut Plywood Down to Size
The first thing to do is take our plywood and cut it down to the right size. Set up your table saw to 15 inches and cut the plywood down. Next, set up your miter saw to 26 inches and cut out the following rectangle.
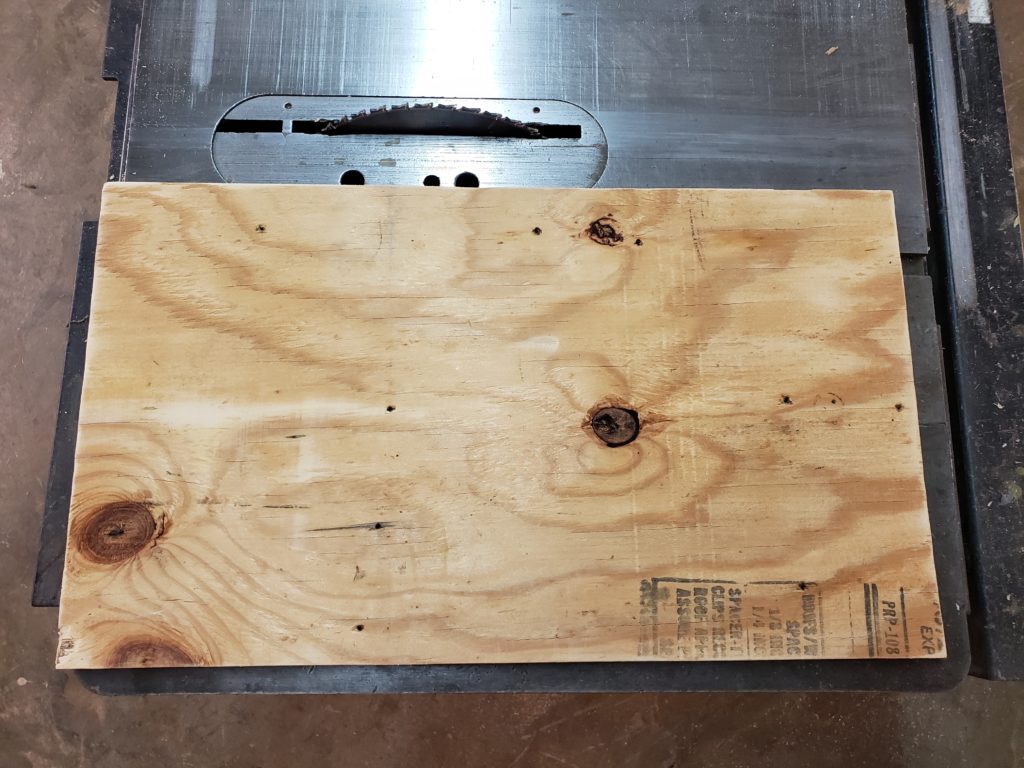

Now that we have the base built, we can create the guide piece.
Step 2 – Cut a Guide Piece
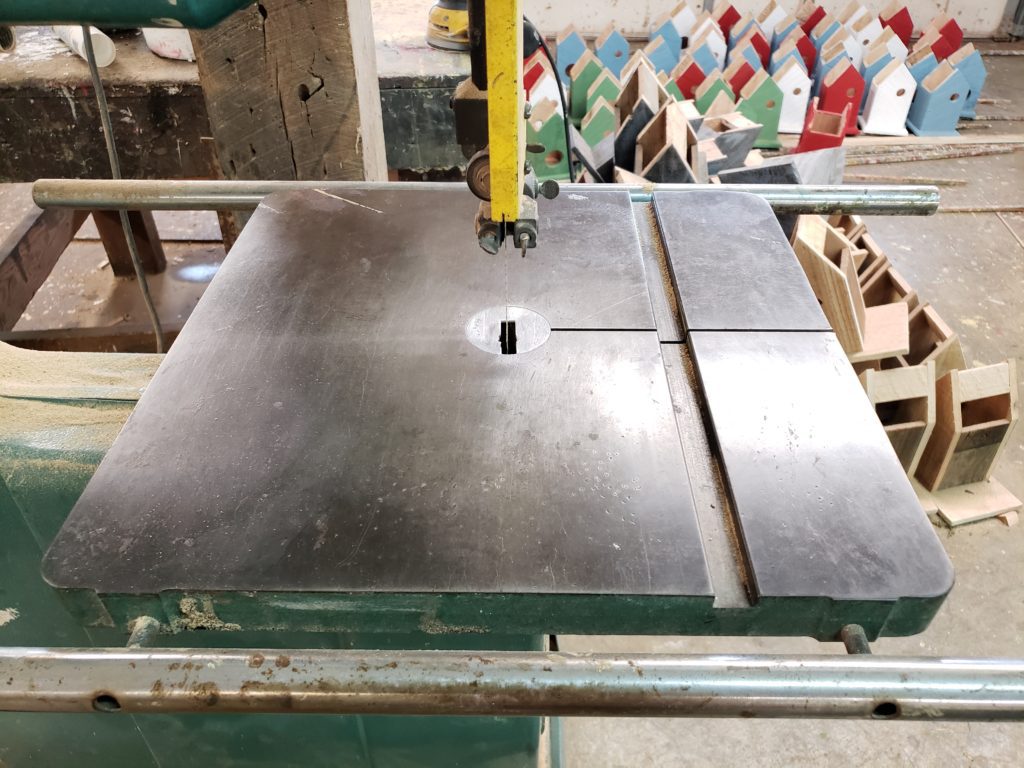

The next thing we need to do is cut out a small piece of wood that is the exact same width and height as the groove in the band saw as seen above. On my band saw, the groove is ¾ of an inch wide and ⅜ tall. I took a piece of scrap wood that I had lying around the shop and cut it down to the corresponding size.
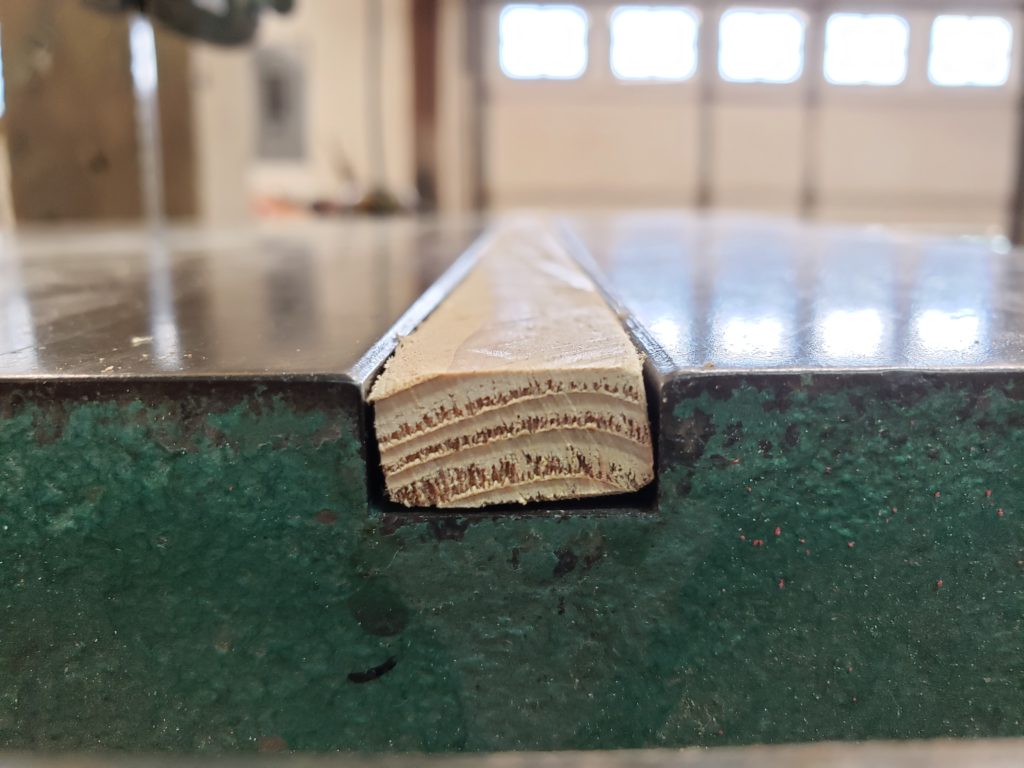

You can use any scrap wood that you have just make sure that you cut it down as exact as you can. Make sure the piece is the exact height as the groove so that the jig lays flat and that there is little to no wiggle room.
Next, we have to attach our strip of wood to the plywood. On my band saw the groove is 12⅜ inches from the opposite end. So I put my strip 12⅜ inches from one end of the jig. I glued up the strip and then nailed it onto the plywood. This guide piece will ensure the jig stays in the same spot and doesn’t move from side to side at all.
Step 3 – Cut Stopper Piece
In the last step, we attached a piece to keep the jig from moving side to side, now we need to make and attach a piece of wood to keep the jig from moving forward. For this, I ripped out a piece of wood to 1 inch in width, then, I cut it down to 8 inches in length.
Now we’re going to attach our piece to the jig. I’m attaching it 3 inches from the end that has the guide piece. The idea for this piece is to hang off a little bit so that it hits up against the front of the band saw and prevents it from moving any further. To see what I mean, take it over to the band saw and use the guide piece to cut a line out.
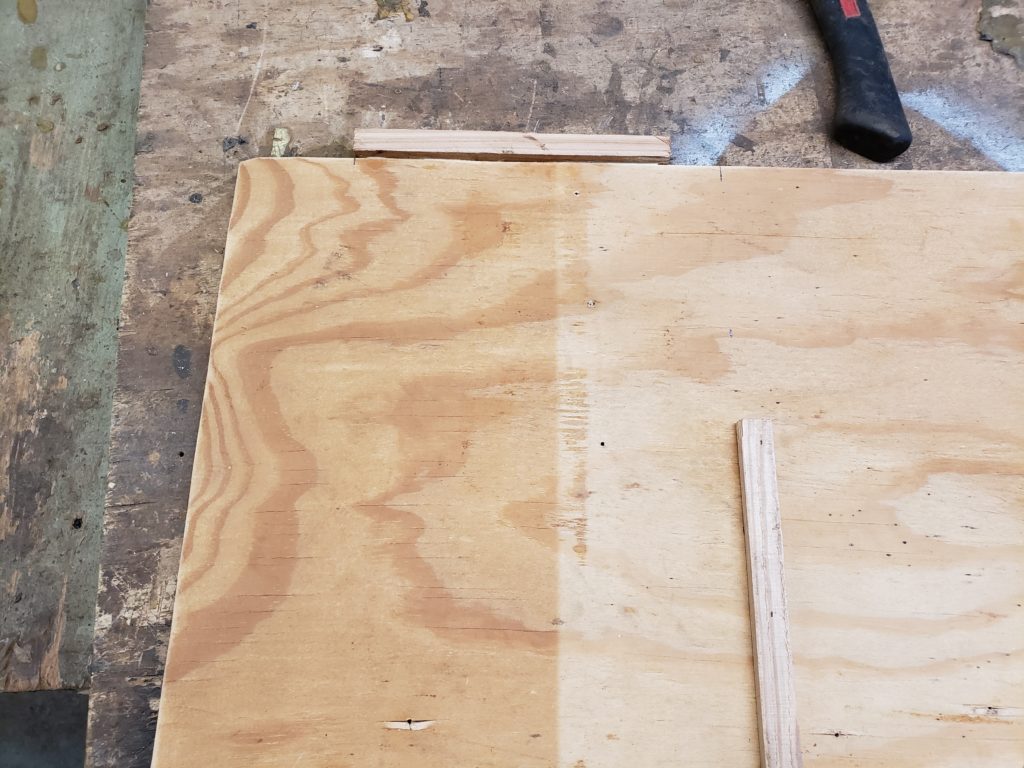

Just like the guide piece, I glued the stopper piece and then nailed it on.
Step 4 – Drill Guide Holes
Now that we’ve got the body of the jig made, we need to drill our guide holes. To do this, we first need to go over to the band saw and saw the plywood using the jigs. Take the jig over to the band saw and slide the guide piece into the groove. Then, saw into the jig until you hit the stopper piece.
Now, we can drill our holes using the line we just sawed. The holes are all going to be spaced out an inch apart starting 1 inch from the line we just cut. I took a sharpie and marked an inch apart all the way to 15 inches.
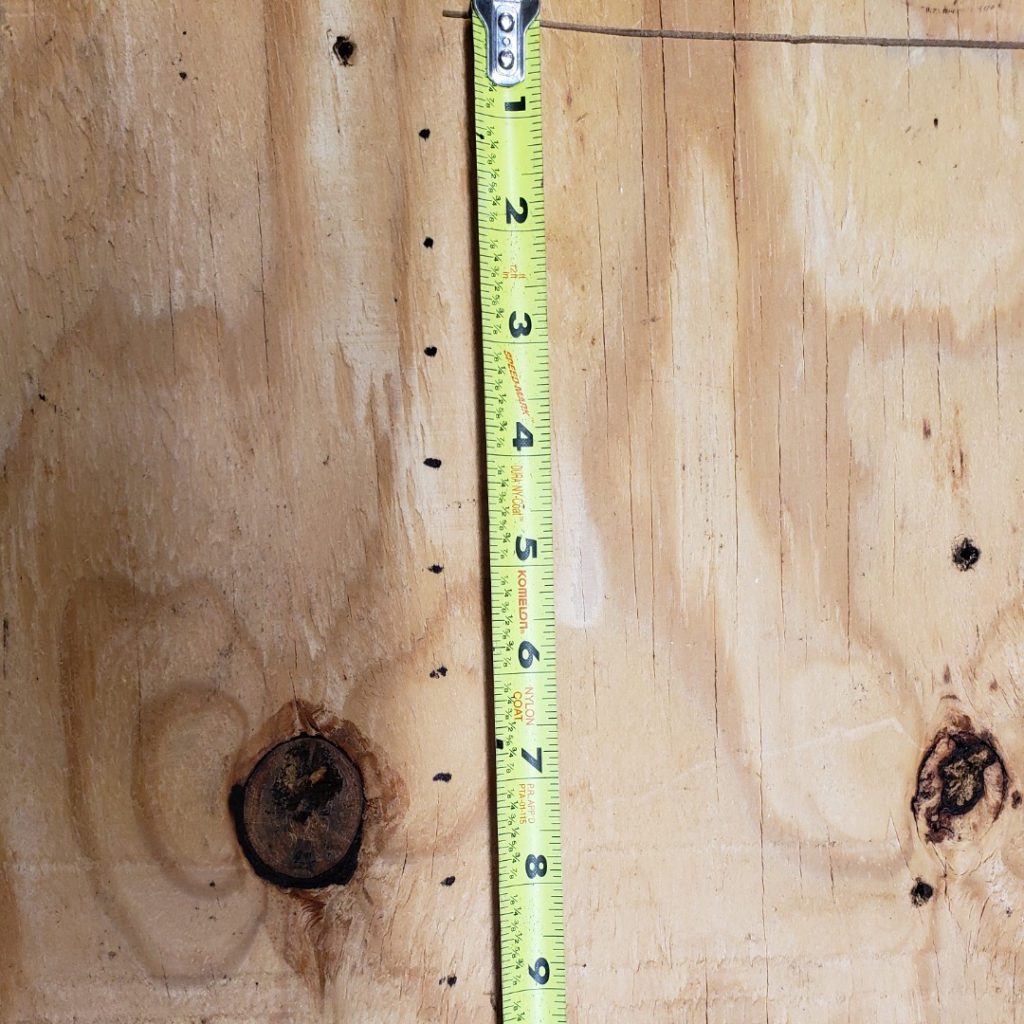

I bought a 5/16 inch dowel rod which means I’m using a 5/16 inch bit in my drill. You can use any size you want if you have a different size in mind.
I cut a piece of the dowel rod down to 1 inch and sanded it smooth. Then, I took a piece of sandpaper and sanded one end of it slightly more than the other so that whatever wood I would use to cut a circle out of could rotate freely.
Once you’ve drilled all your holes you’re ready to cut out your first circle!
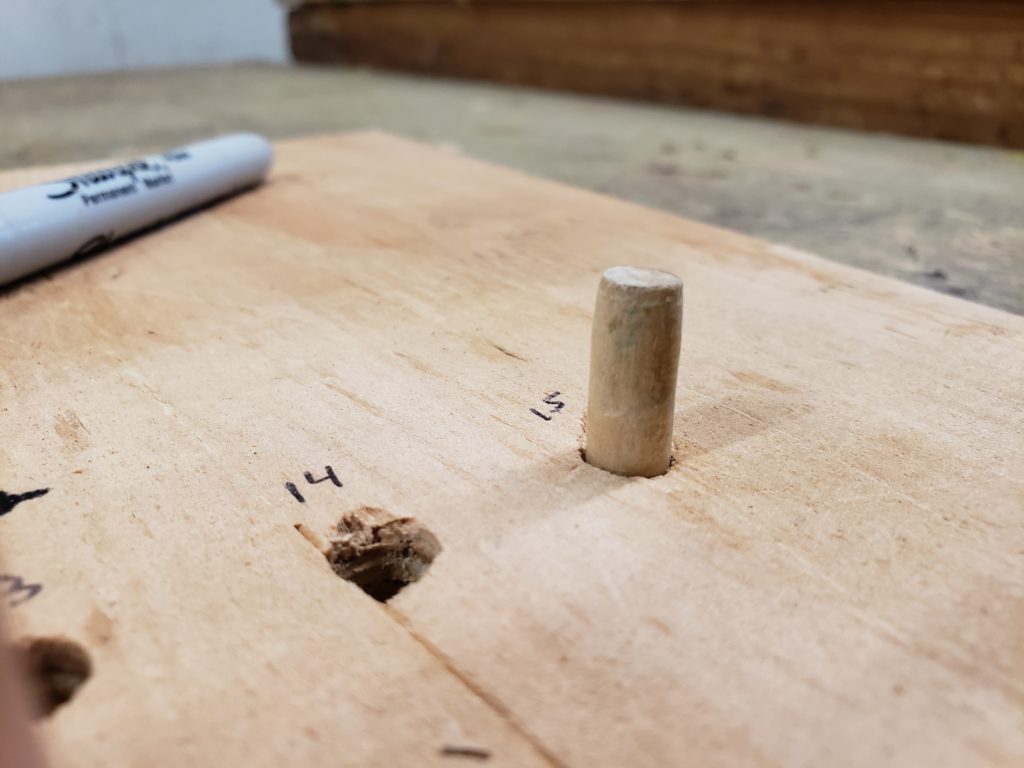

And you’re done! You’ve just finished building a circle cutting jig for your bandsaw. All that’s left to do now is drill a hole in the center of whatever it is you’re cutting a circle out of and put it into the jig like this
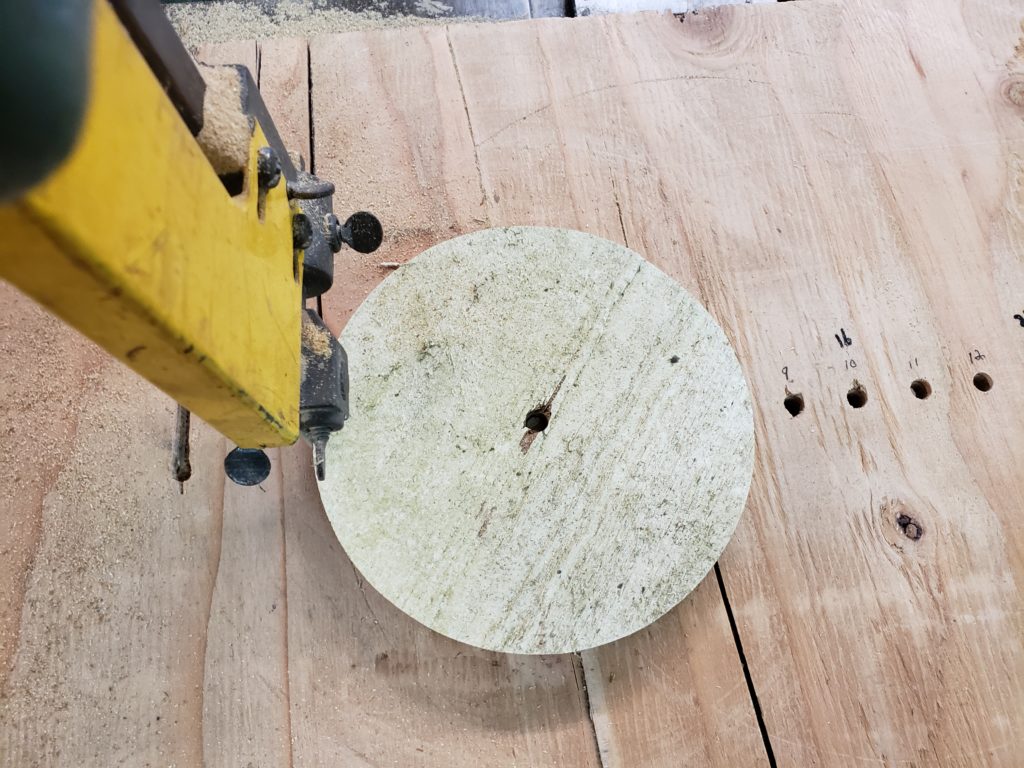

Now you’ll be left with perfect circles of all different sizes for all your big and small projects. Whether you’re building a clock, table, decor, or any other project, this jig will surely get the job done.
Thank you for reading my article. Feel free to check out my website for more articles. Happy cutting!

