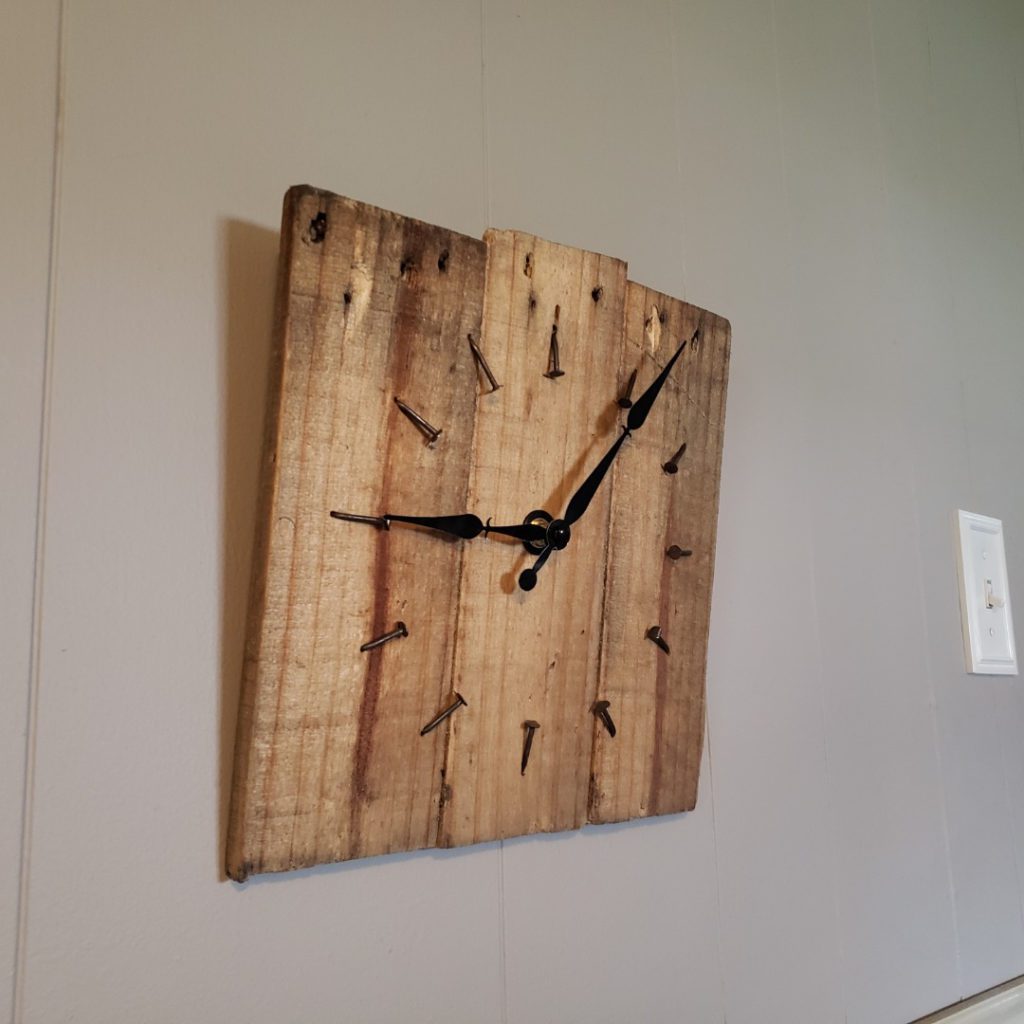
Building a clock can be a rewarding experience that you can do with family, friends, kids, or just as a personal project. I own a business called Klockworks where I build handmade clocks and sell them online.
For my business, I use many different power tools and saws to build my clocks. While it certainly makes life easier to have access to a bandsaw and a table saw, today I will be showing you how to build a clock with minimum tools.
What You Will Need
While it is ideal to use a band saw and other power tools, building a clock doesn’t mean we have to have them. But with that being said we still will need some tools to get the job done. Depending on the clock you want to build (more on that in step 1) the tools we need may vary.
The following is the list of materials you will definitely need along with the affiliate links to all the products I used.
- The wood of your choice
- Hand saw
- Wood Glue – click here
- 2 Clamps – click here
- Linseed oil (or stain of your choice) – click here
- 40 grit sandpaper
- Tape Measure
- Long shaft clock mechanism with hands – click here
- Drill
- ⅝ drill bit or bigger – click here
- Hammer
- 12 nails
- protractor
Step 1 – Decide What Kind of Clock You Want to Build
There is no shortage of clocks. The possibilities when it comes to different clock styles are virtually infinite. There are so many different things that you can do, different shapes, different numbering methods, different sizes, etc. But for us, we want to keep it as simple as possible. Since we are building a clock with minimal power tools, it limits us to the shapes that we can do.
To keep things simple, we will be building a square wall clock. Regardless of the tools we have to work with, we will still make a beautiful wall clock that will make any room pop.
Step 2 – Cut Your Wood Down to Size
Now that we have an idea of the general shape of our clock, next we need to decide on how big to make our clock and cut our materials down to the corresponding size. I will be making my clock around 10 inches and will be using a board from some scrap pallet wood that I had in the garage.
Now the width is something you’re going to have to figure out. This is something that will be too hard to cut evenly with a hand saw (and too dangerous), so we are going to work with our wood as is. If the wood you have is too wide, try to find someone you know who can cut it down for you or find some different wood. I will be using pallet wood for mine and am going to leave it at its current width.
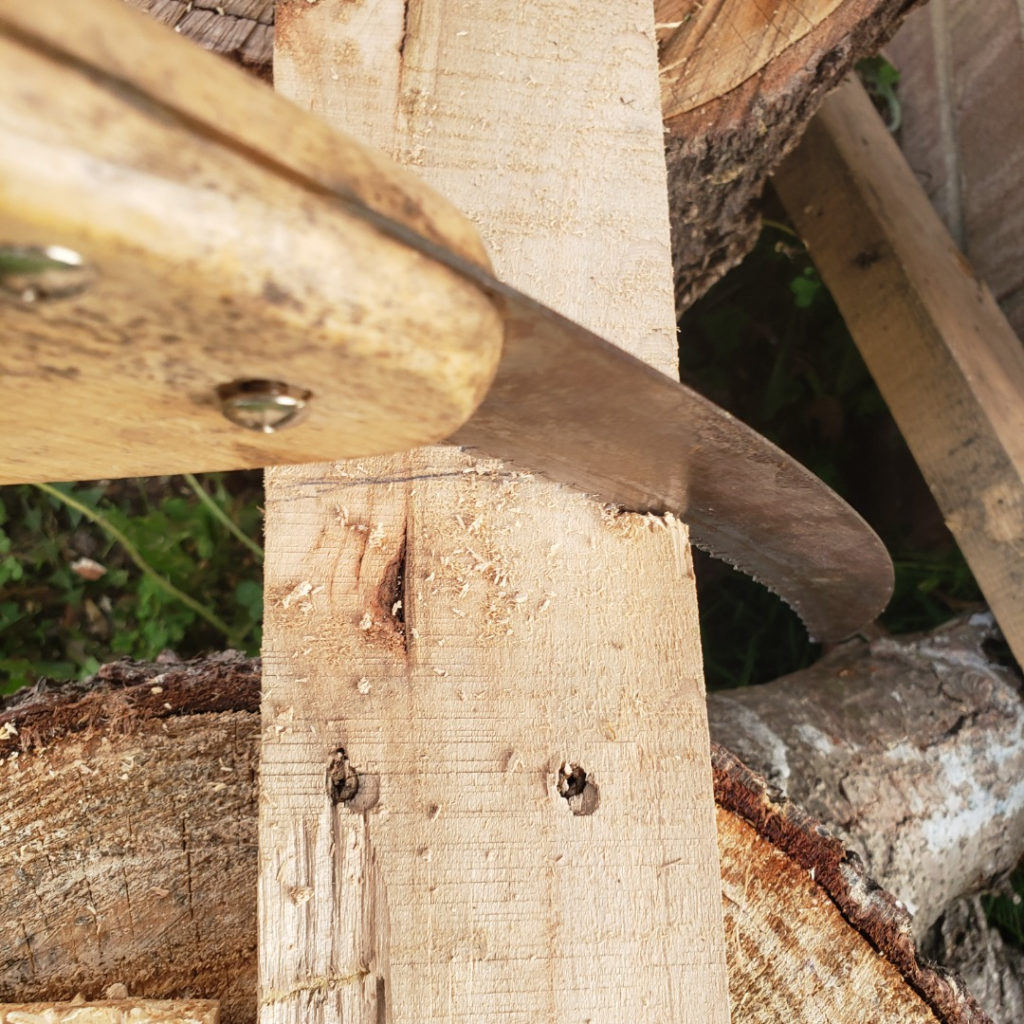
The first thing I’ve done is measured 10 inches from the end and made a line across the board in pencil. Next, I sawed each board down to the corresponding size as seen here

Step 3 – Glue up your boards
Now that we have our boards cut down to size, they are ready to be put together. I took some wood glue and smeared it across the edges of my boards. Then I clamped the boards together.
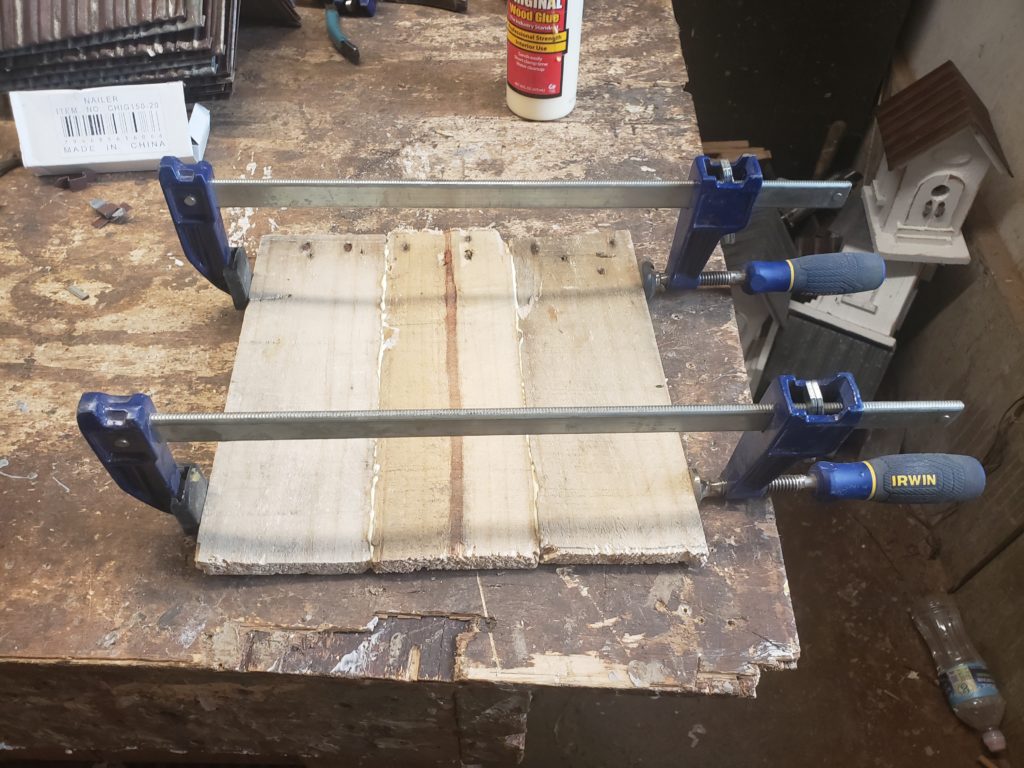

Next, take a rag and wipe up the glue that seeped through the cracks of the boards. Any glue that is left will dry and will be extremely difficult to get off.
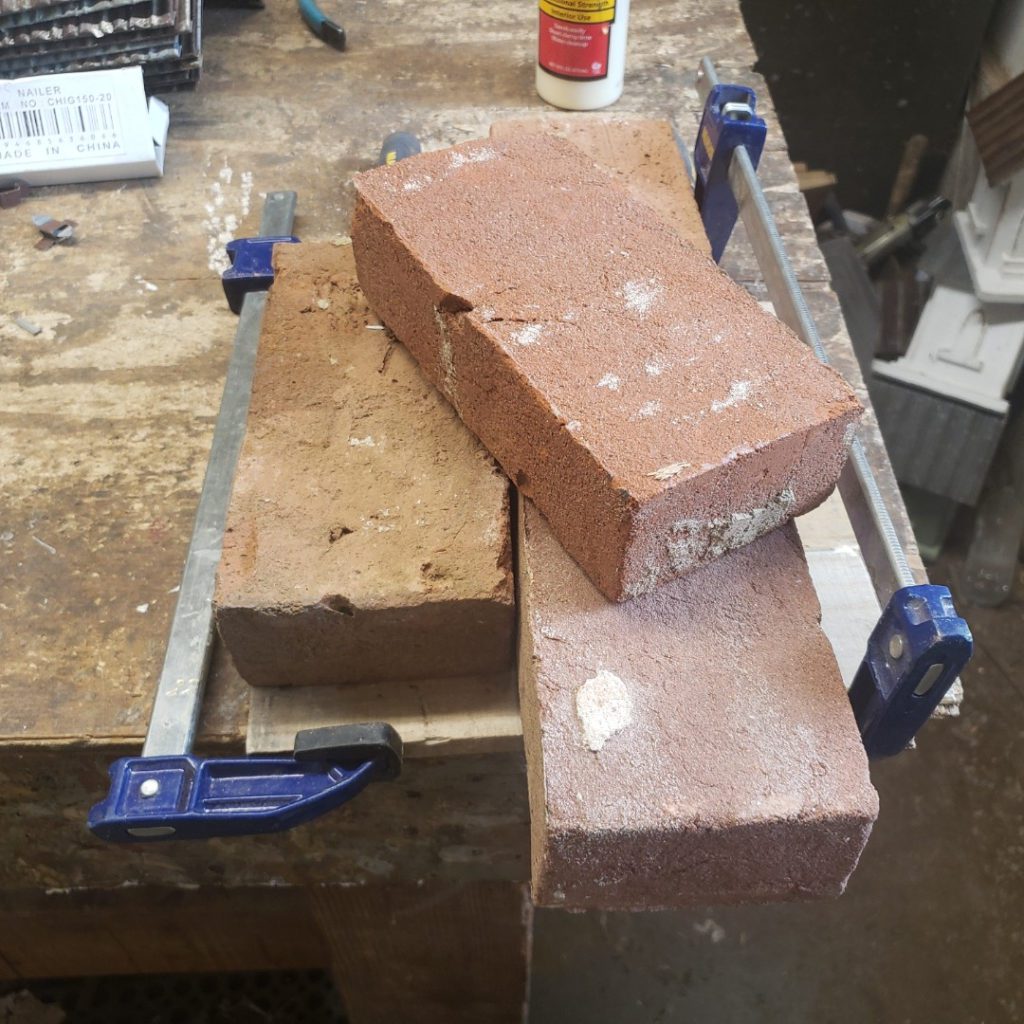
Finally, we need to find something heavy like some bricks and put them on top of the clock while the glue dries to ensure that the clock doesn’t bow up while the glue is drying. Now we leave the clock to dry for 24 hours.

Step 4 – Sand Your Clock
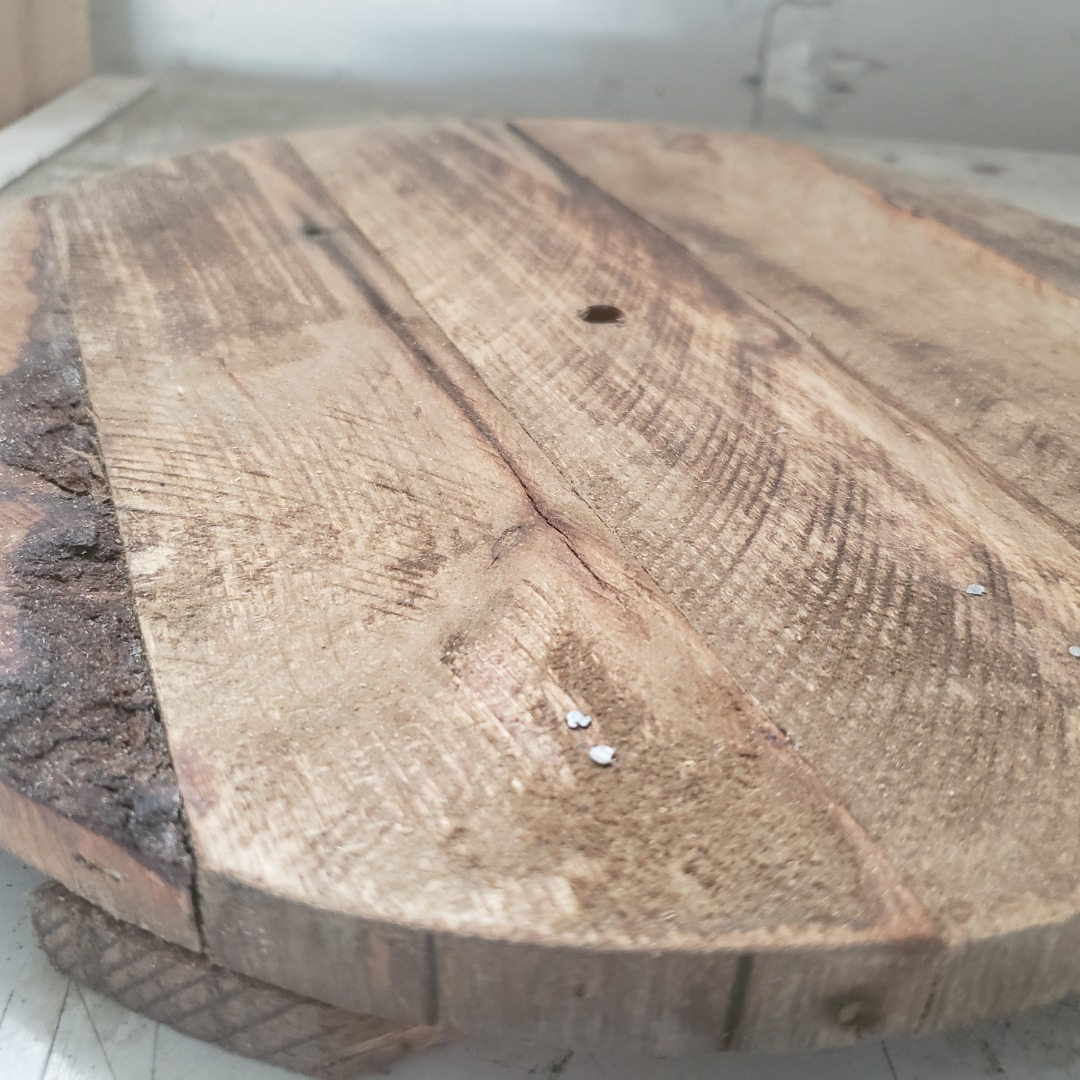
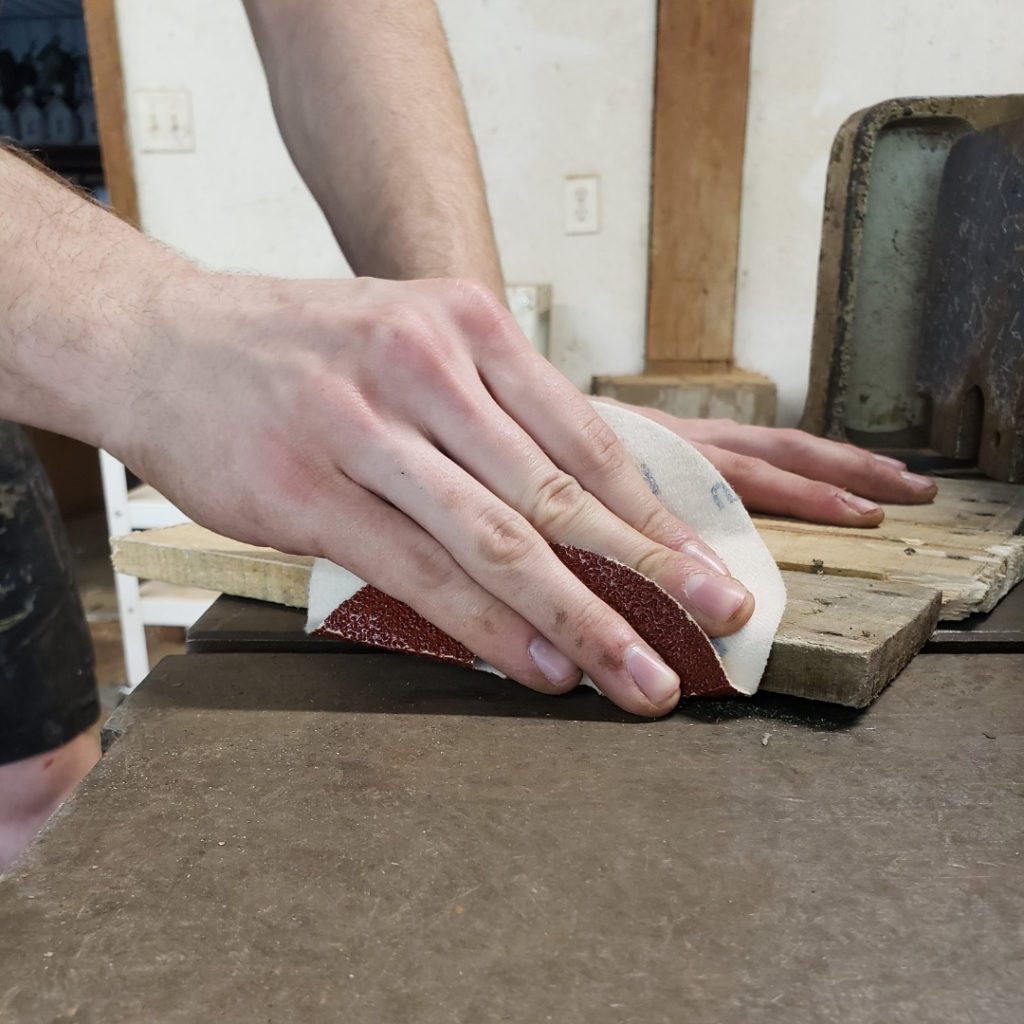
Now that it has been 24 hours we will remove the clamps and start sanding down the clock. To sand my clock I used a 40 grit piece of sandpaper that I found and rubbed the clock face as well as the edges. I’m not too worried about this clock being really smooth since being rough is the look I’m going for.

Step 5 – Stain Your Clock
Now it’s time to decide what you want the finished product of your clock to look like. This will depend on the specific look you’re going for, the kind of wood you used, and where the clock will be hanging. If you decide to paint the clock, try to use indoor paint so that it can be cleaned if need be.
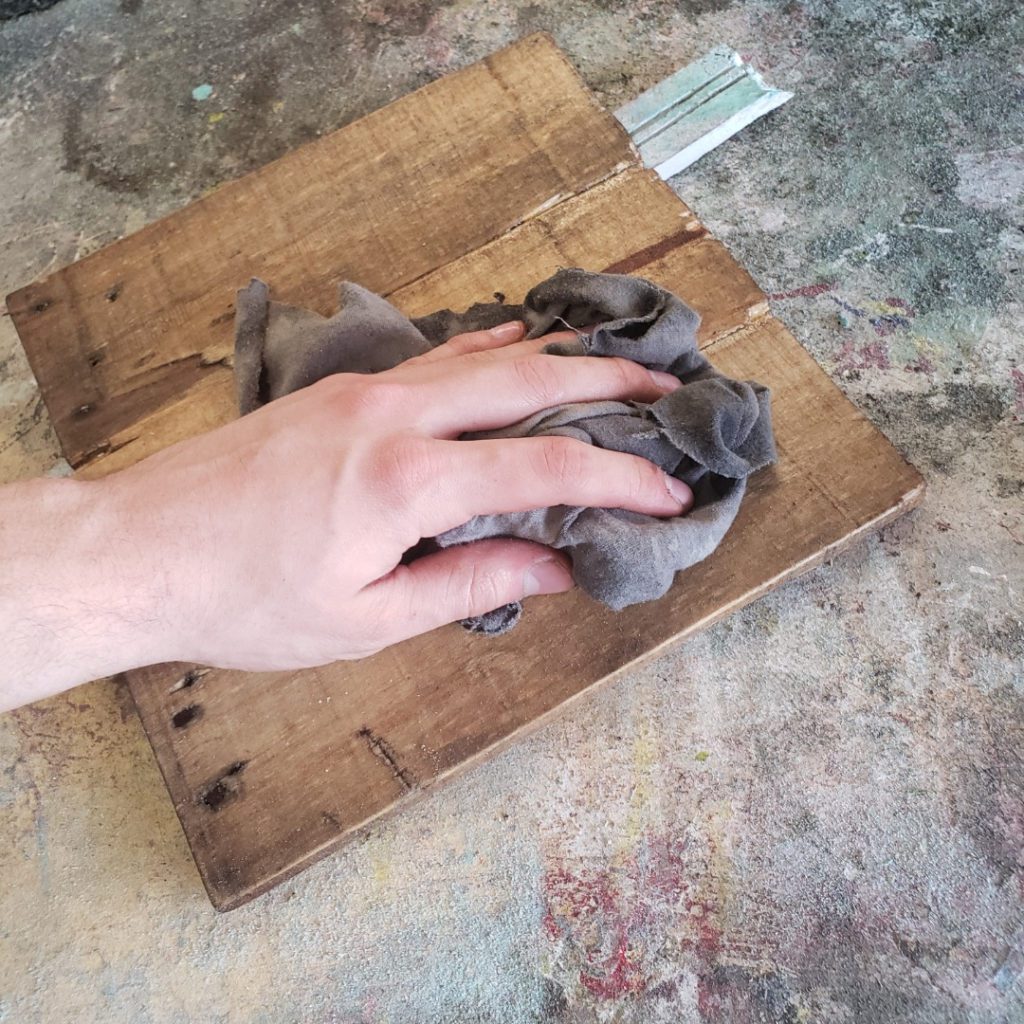
For my clock, I will just be using linseed oil which can be bought through the affiliate link provided. It looks amazing and does a really good job of keeping the natural look of the wood.
I have an old paintbrush that I will be using but if you don’t have a paintbrush then just use an old rag to apply the oil. Give the clock an even coat on the front, back, and sides. Let it sit for at least 5 minutes and then wipe it off.

Step 6 – Put the numbers on
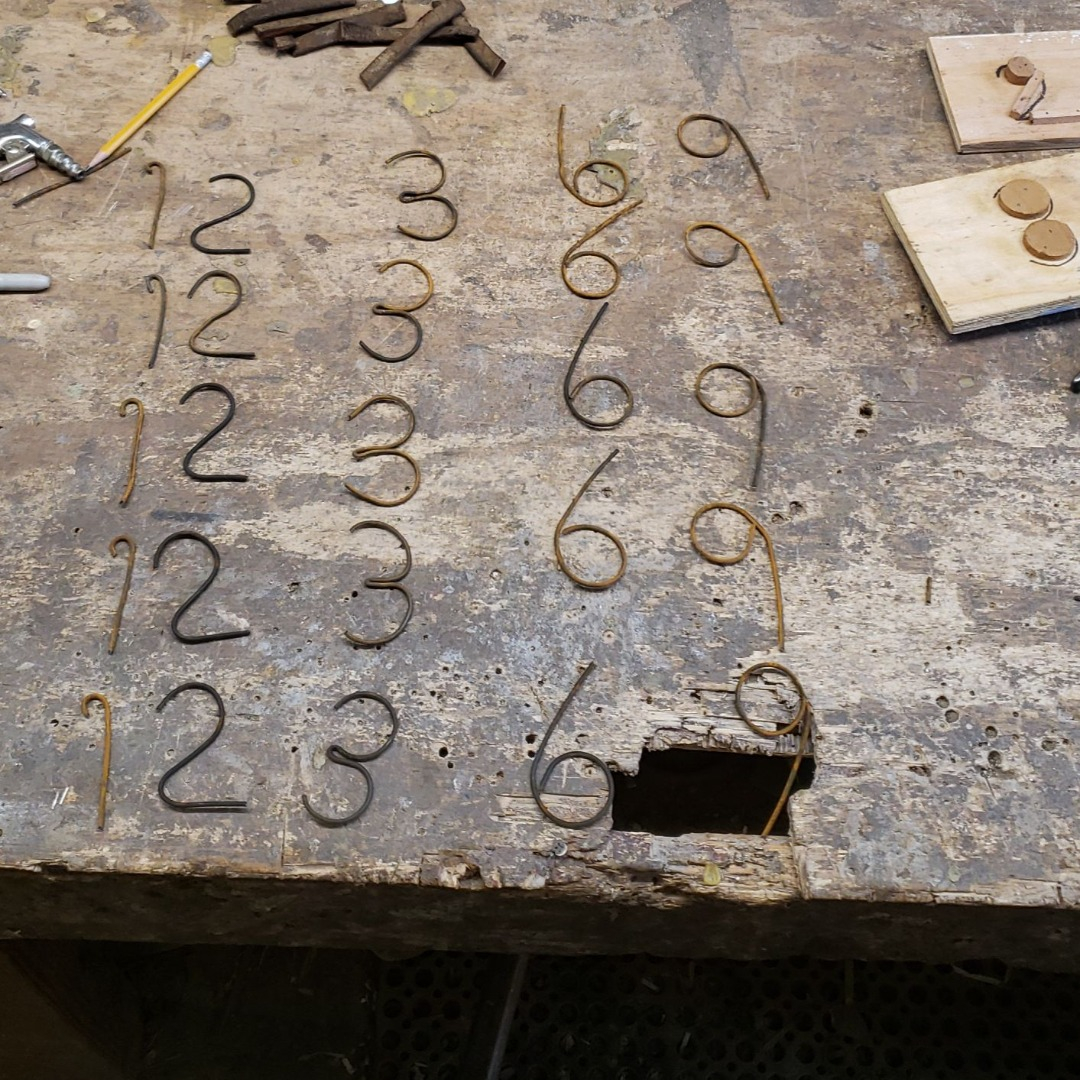
Now that we have the body of the clock built we just need to put numbers on it. This is where you can get creative and find something really unique to use as your numbers. Or if you would rather, you could order some clock numbers off of Amazon as well like these.
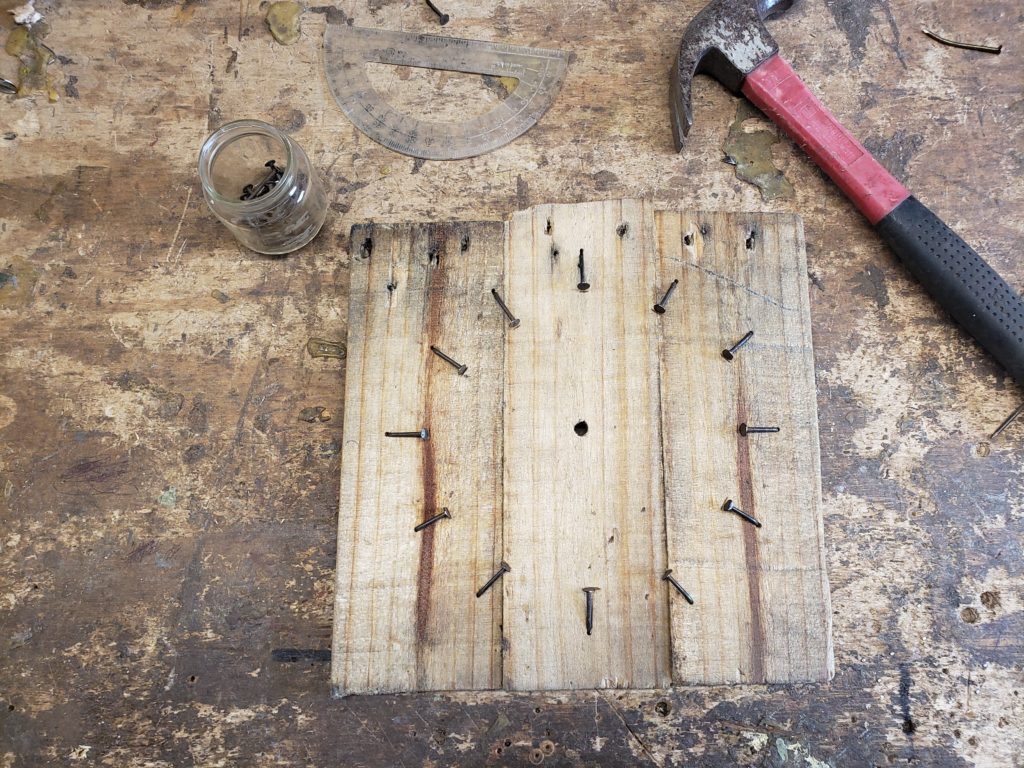
To keep things as cheap and easy as possible, I will be using wood nails for my numbers. First, I’m going to drill a hole in the center of the clock so I have a center point for my protractor. Be sure to use a ⅝ drill bit for the hole so that the clock mechanism fits through it.
Now, we need our protractor to make sure we space all the numbers 30 degrees apart. There are 12 numbers all in the circle. A circle is equal to 360 degrees and 360 divided by 12 (the amount of numbers we have) equals 30 degrees. I put the protractor in the center of the hole and hammered in all the nails and bent them in with my hammer. Careful not to hammer them in too far.


Here is the finished result of the numbers. I’m very happy with how it turned out. I think the nails were a good choice on this clock.

Step 7 – Put in the Clock Mechanism
A clock mechanism can be bought at Walmart, Hobby-Lobby, or through the link here. Most clock mechanisms you’ll find have 1/2 inch shafts which would be too short for me to use since my pallet board is 1/2 inch. The shaft size means how long the threaded part of the mechanism is that sticks through the clock. Since the wood is 1/2 inch, I needed a mechanism that could go all the way through.
We are now ready to put our clock mechanism in our clock. If you want to secure the mechanism better then I would use hot glue and glue it onto the back of the clock. Since this clock is pretty lightweight, I’m just going to put the mechanism on as is.
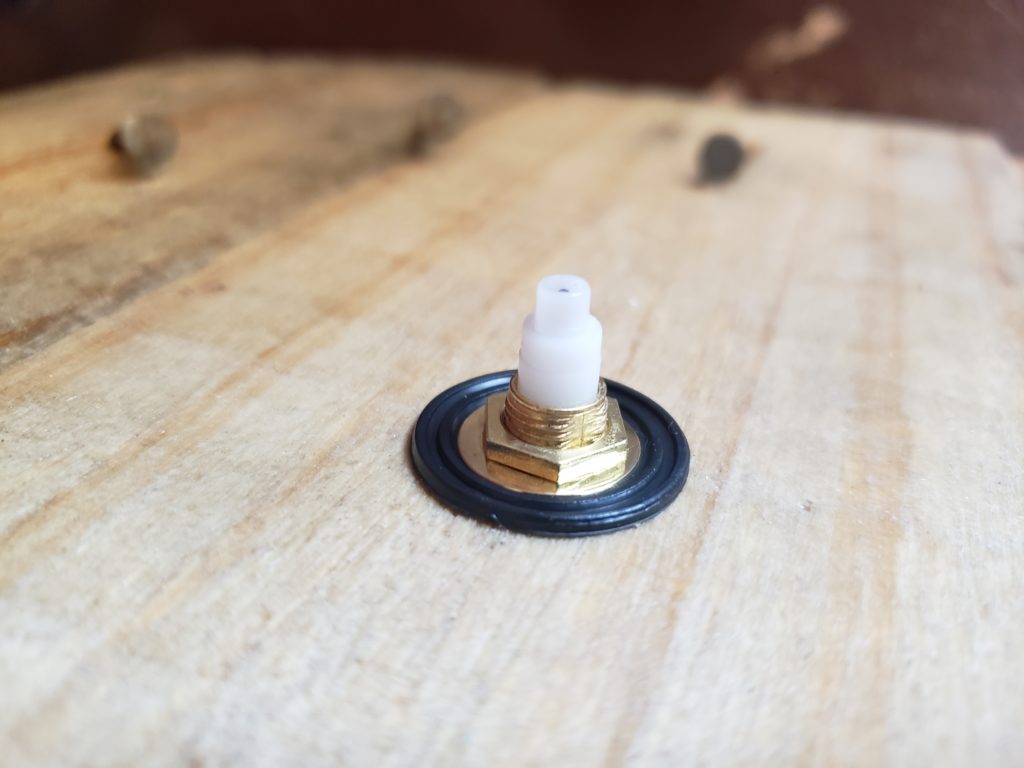
Put on the mechanism parts just like in the picture. Black base first, then the washer, then secure the nut. After that you can put on the clock hands, the hour hand first, then the minute hand. All that’s left is to put a battery in it and hang him up!

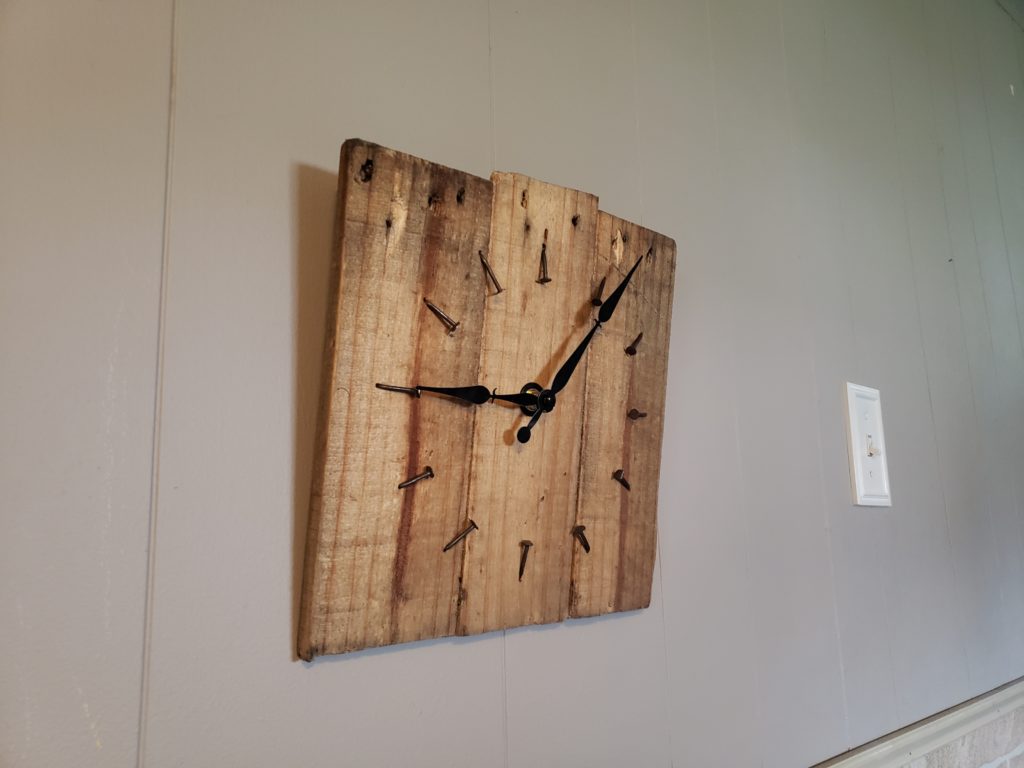
We did it! Congratulations on finishing your very own clock! Find some wall space for your new friend and hang him up! Be sure to send me a message with a picture of your clock letting me know how you did!

Thank you for reading my article on building a clock with minimal tools. Be sure to check out my other articles for more fun just like this one. Be sure to send me a picture of your finished clock!

